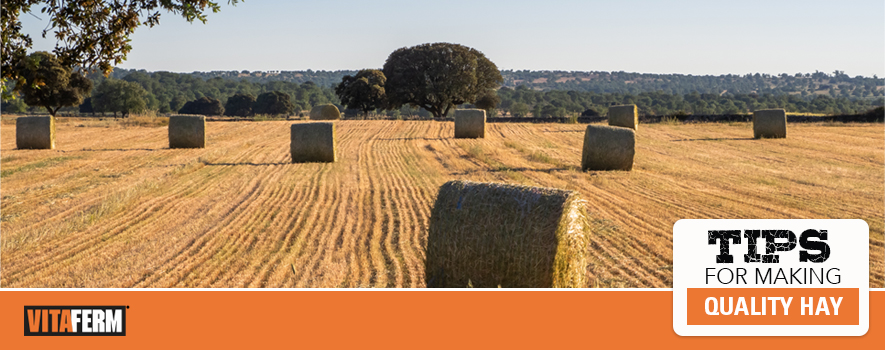
Fresh forage is one low-cost, high-nutrient source of feed for beef and dairy cattle, sheep and horses. However, with a surplus of forage and some land and environmental factors that prohibit grazing fresh forages, making hay is a resourceful way to harvest and store valuable forages for a later time when feed resources become scarcer, perhaps in late fall and winter.
However, making quality hay isn’t just as simple as mowing down a field and making bales. It requires basic knowledge of the life cycle and parts of the plants to know how to capture the optimum nutrient value. Being a student of the local weather conditions also helps complete the task.
The National Forage and Grassland Curriculum based out of Oregon State University offers five key considerations on how to properly harvest and store hay.
- Timing is everything. Harvest or cut the hay at first bloom, also known as heading or the anthesis stage. Make sure to cut or swath hay when the forecast calls for several consecutive days of sunshine, as it is best to cut and bale hay without rain if it can be avoided.
- Leave the nutrition in. Make sure you harvest forages that have a good nutrient content and remember that often the leaves contain the best nutrition. Some species such as meadow foxtail don’t have adequate leaves to make quality hay. Since 2/3 of the plant’s protein is found in the leaves, it is important to find a forage with good leaves that will stay on the plant once it is harvested. Although yield increases as the plant matures, both nutrient value and palatability are at their peak at anthesis, so finding the right time to cut or swath hay becomes an art.
- Dry before you bale. Rapidly dry the hay to 15-20% moisture. Cut the hay so that baling becomes simpler and the ability for it to dry is maximized. Most swathers cut the hay into wide windrows that help facilitate drying while waiting to be baled. Keep the stubble relatively high, which also helps air circulate around the hay, and helps it dry faster.
Most grasses and forages contain up to 90% moisture, so it could take a few days to dry they hay down to 15-20% moisture. If you need to “rake” the hay into windrows that will help speed up the drying process, but be cautious, as that also removes the leaves, the main nutrient source from the hay.
- Green is good. Maintain the forage’s green color, which indicates minimal deterioration. The green color of your forages indicate nutrient values are still present, and mold is not. Sun can bleach the hay, which also removes nutrients. If your hay turns white or brown, that is a sign of mold.
- Storage solutions. Be sure to store your hay in a place where it is protected from further deterioration to maximize nutrients and palatability. If you can store it inside, that is ideal, just make sure it is free from moisture. And, make sure you can identify which field/pasture and which cutting each load came from when it comes time to forage test later in the year.
In ideal conditions, you should be able to get 2-3 cuttings of hay each season, allowing you to stockpile forage for your livestock when you need to feed them a lower-cost feed. Be sure to test your hay prior to feeding it so you know what its nutrient value is and how to supplement your livestock to ensure they are getting all the vitamins and minerals they need to stay healthy and perform. If you are unsure where to start with forage testing, contact your BioZyme® Inc., Area Sales Manager, who can help you collect and test forage samples, and work with a qualified nutritionist to develop a ration that will supplement your animals’ diets. To learn more about forage testing, visit our forage testing page.